


Phase 1 Clearing the north-east side of the map
Phase 2 Crossing the dam/ getting the boat
Your spy can do a lot more when he is wearing a uniform. However, in order to
get a uniform, you have to clear the whole camp in the south-east part of
your map, which takes time.
Crossing the dam is dangerous; a machine gunner and a patrol will gladly
welcome you. Here is how to respond to their invitation.
Let your marine dive to the south-east point of the river (near the boat).
In the mean time, take a body with your green beret and put it at your side
of the dam. Set a trap with your sapper [j] behind
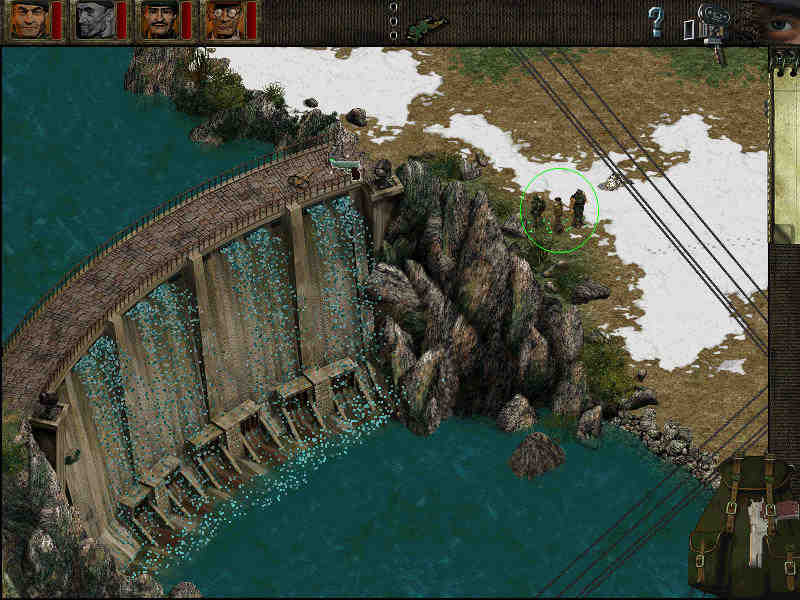
it. Then, take position with your greet beret, sapper and spy at the rock
south of the dam (see here.) While doing so, take care
that the patrol doesn't see you and that you are ready to give them a proper
reception. When they spot the dead body, they will cross the dam. One of them
will be killed by the trap and the rest you have to kill with your guns.
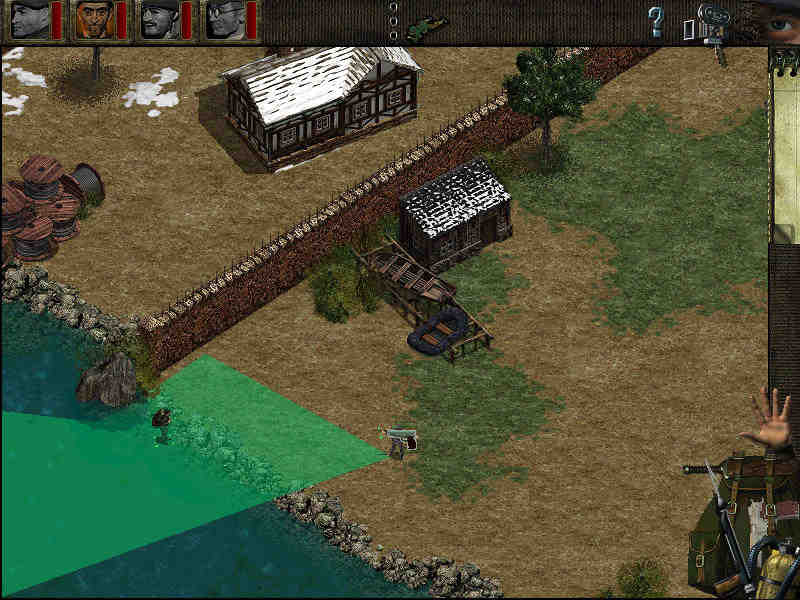
When you have done this, your marine should have arrived near the boat.
Surface him and kill the guard who is walking their (take a look
here.) Note, that you can even wait until he sees you
and takes you under shot (unless he is beyond the range of your gun.)
Even then you can shoot him down with your gun. Now, take the boat and dive
to the other side of the river.
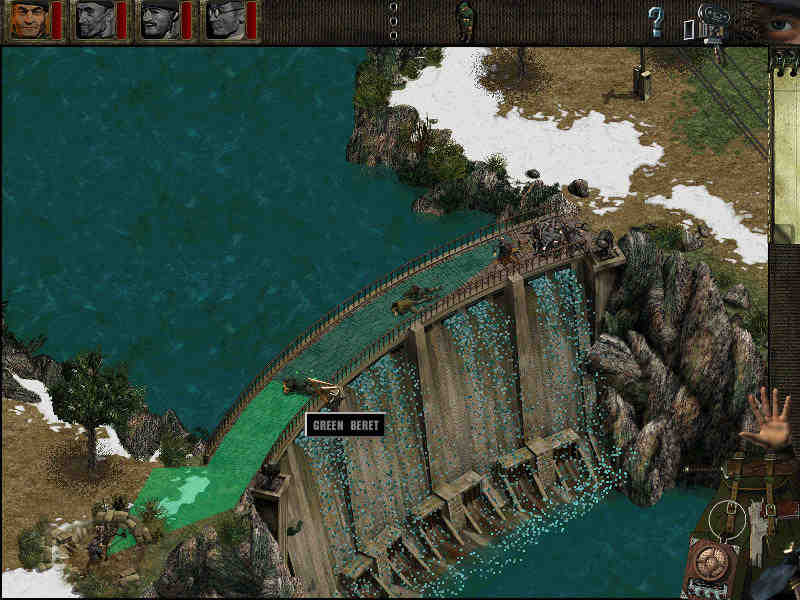
Still, you have to get rid of the machine gunner. Select his scan range
[click, while keeping the shift key pressed] and
crouch with your green beret just to the border of his long/short range view
(see here.)
Stand up [s]. The machine gunner will only say
`halt'. Run towards him, press
[g] and kill him. He will start shooting at you,
but if you are quick enough, he will miss you some how (at least, you don't get
hurt.) Move his body a litle further away from the fence (halfway down the
dam), otherwise it will be seen by the guard who walk in front of the fence.
Phase 3 Getting in position/ clearing the west bank
With your marine, you can get rid of the two guards who are walking at the west
bank of the river. If the most southern one is near your marine, shoot him
with your harpoon [j, aim, click], otherwise,
bring your other men in position first (see below) and
kill him then. (see here.) Note, that you can kill him
silently while he takes you under shot, unless he is out of the range of your
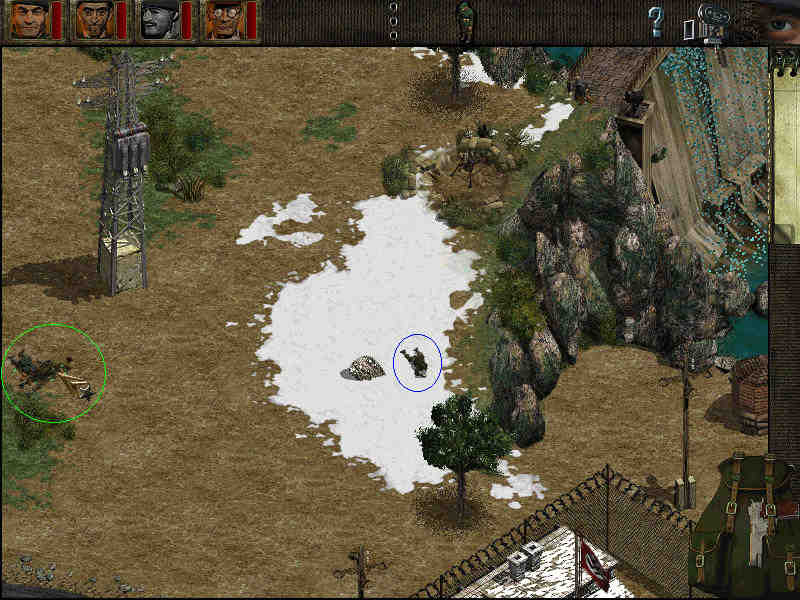
harpoon. Killing the other guard requires a little timing, since he walks a
great distance through the scan range of another guard (the blue encircled in
this map.) Dive to the pillar of the electricity wires,
so you are out of the scan range of the `blue guard'. Wait until your target
(the `red encircled' in this map) walks past you, then
surface, crouch, aim your knife at him and click. If you are about to knife
him in the scan range of the `blue guard', press right mouse, wait a short while
and knife him again. Note, that the moment you knife, you stand up, so your
marine should be out of the blue guards' scan range as well. When you killed
him, dive to the other river bank.
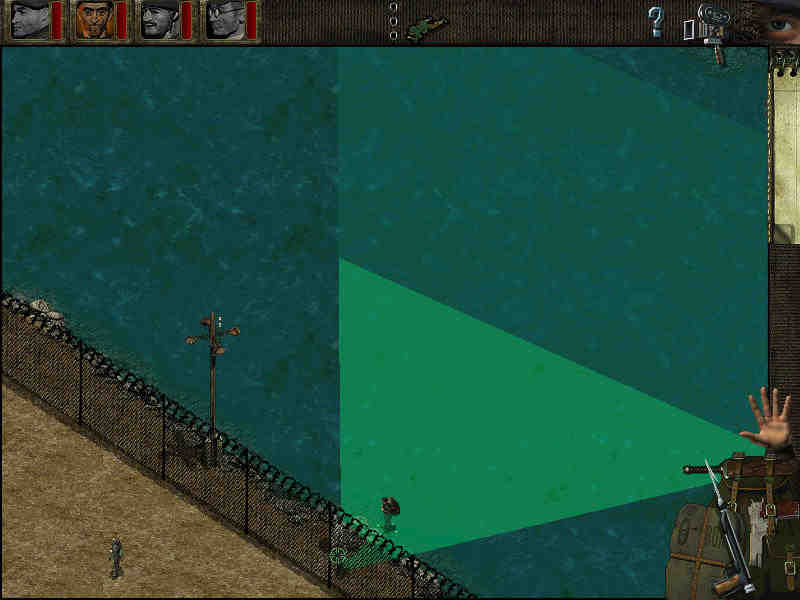
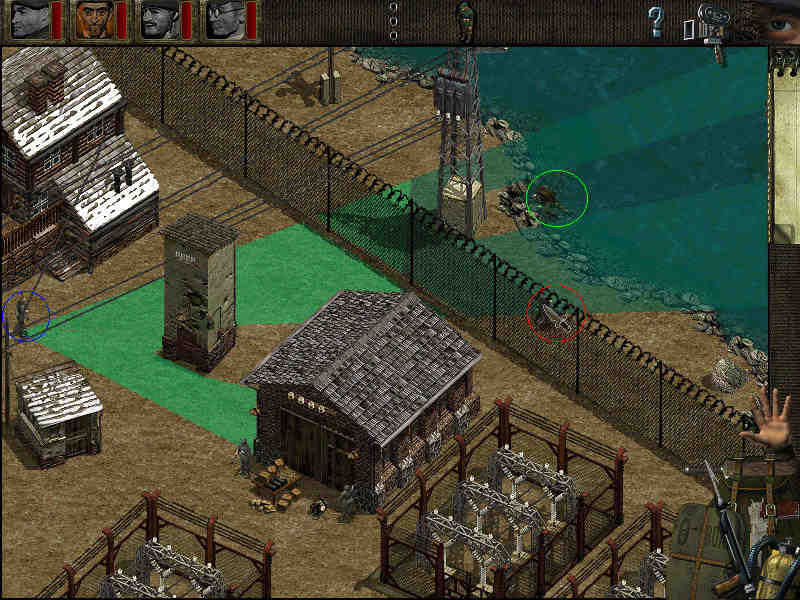
In the mean time, crouch with your green beret and spy to the west side of
your map, just out of the scan range of the guards near the fence (they are
green encircled at this map.) Crouch your sapper near the
stone that is south of the machine gun (blue encircled at
this map.)
If your marine hasn't killed the guards at the west bank, kill them now.
If these guards are killed, dive to the other bank and run across the dam.
Then crouch to your green beret and spy.
Phase 4 The `under shot' trick
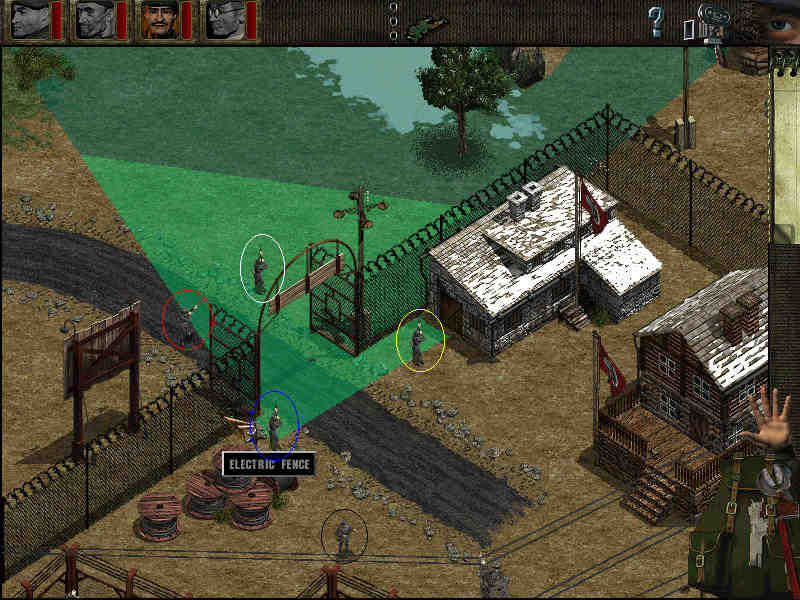
If all your men are in position, stand up with your sapper. All the guards who
are looking northwards will keep him under shot! Wait until the guard who walks
around at the fence notices your sapper. Take a look at
this map. First, you can knife the red encircled guard with
your green beret or marine. You can also give him a lethal injection with
your spy [l, aim, click]. Then, `harpoon' the
blue encircled guard with your marine from the position of the pointer. Now you
can kill the white encircled, the yellow encircled and the black encircled
guard silently with your green beret, marine and spy.
This trick only works under the following conditions:
Phase 5 Finishing touch
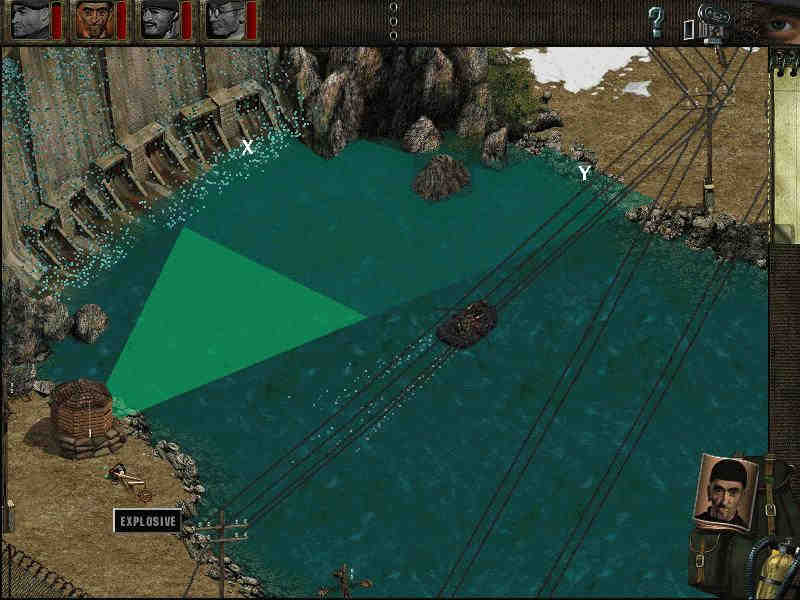
Run with your sapper and take the second bomb. Then run to the bunker.
Select the scan range of the bunker and place a bomb south of it. Then quickly
get into the boat and row it (with your marine) three quarter the width of the
river, just beyond the scan of the bunker. Take a look at
this map.
When the bomb explodes, row to mark X, step out of
the boat with your sapper, place your second bomb, step into the boat and
row the boat to mark Y. Unload your sapper and
marine, wait until the escape vehicle arrives and get all your men into
it.