


Phase 1 Getting the tank
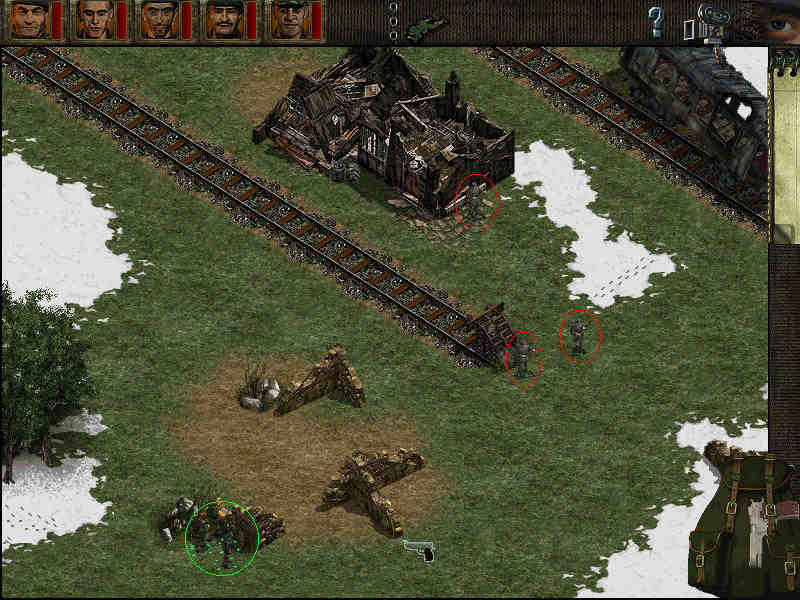
All the guards and the patrol who prevent you from getting the tank can be
killed by gun. To the east of your starting position,
there are some walls where you can perfectly hide, fire a shot and kill
the (three) guards there. See here what I mean.
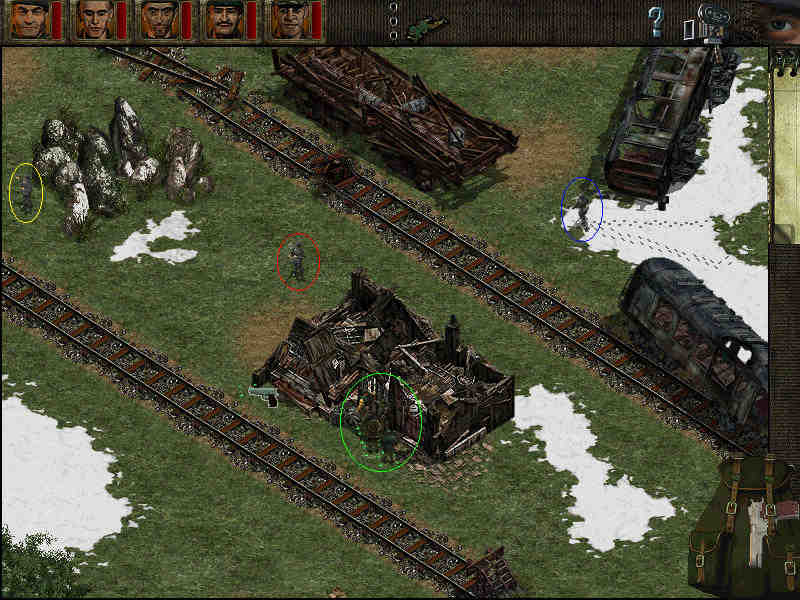
The next couple of guards can be killed when you hide yourself south of
the building; see here. The yellow encircled guard will
always come from the direction of the gun-pointer. The blue encircled one will
come from the opposite direction. I tried this a few times, and sometimes
the red encircled one joined the blue one, and sometimes he joined the yellow
one. Just try and see. Anyway, the yellow one will be first to arrive.
To the east, there is a carriage where you can hide to kill the guard north of
it; see here.
To the north-west is a wagon which can be used the same way to kill the
guard north of it; see here.
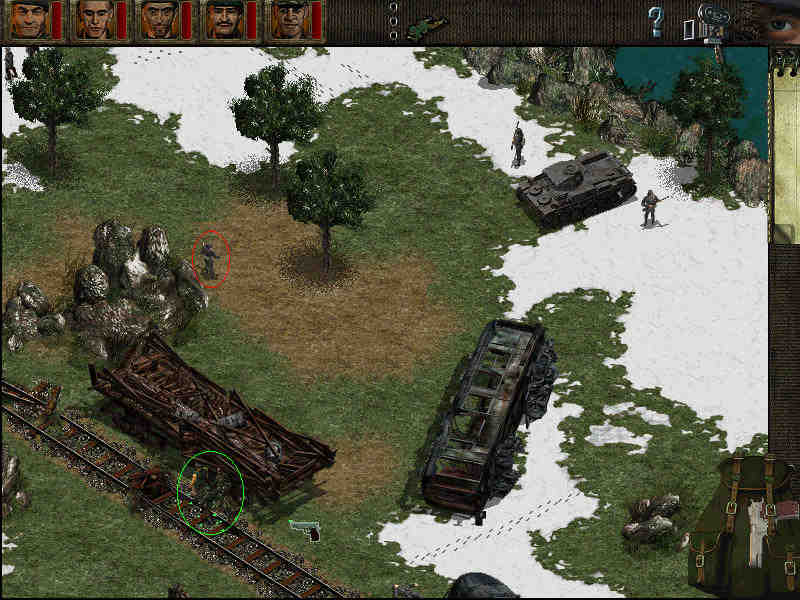
If you have done all this at a quick pace, the patrol who walks around in
this area is about to discover the body of the guard you just killed. So,
hide south of the rocks that are to the west of you, and shoot them down;
see here.
Note, that you can also throw a grenade at them, but these grenades are handy
later on.
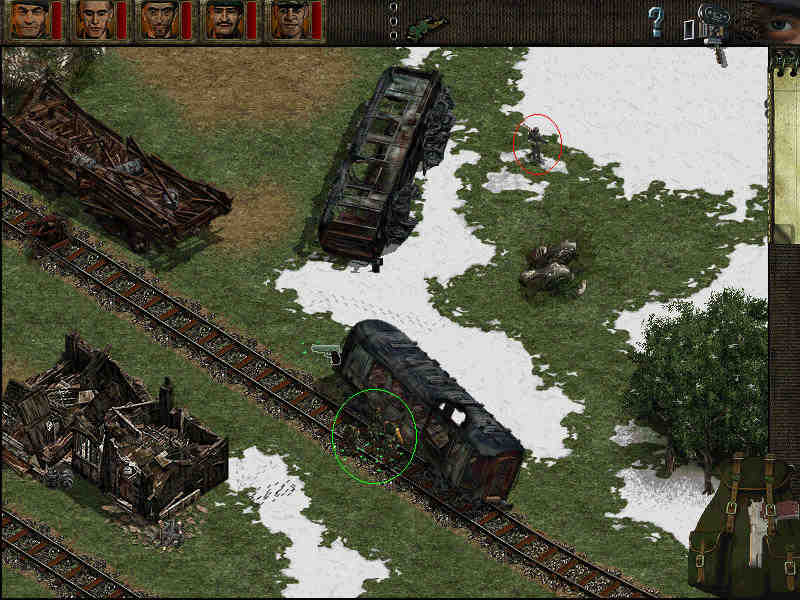
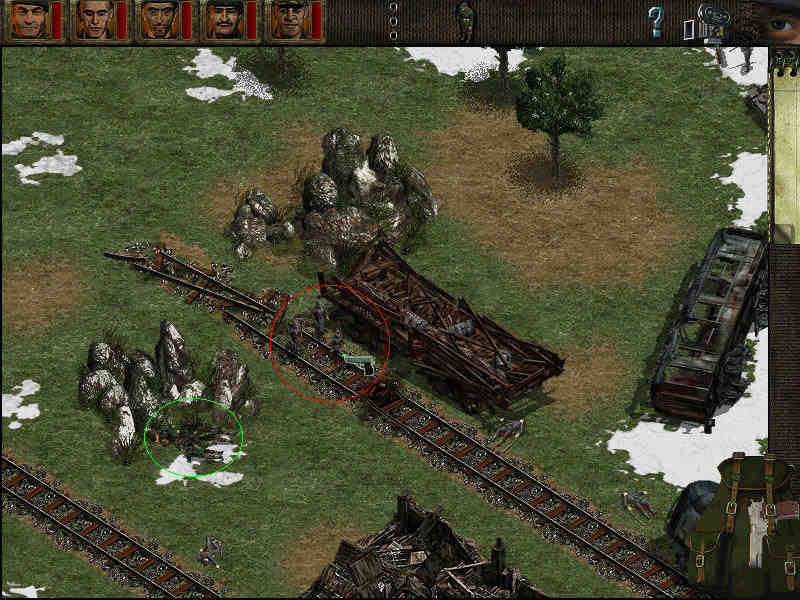
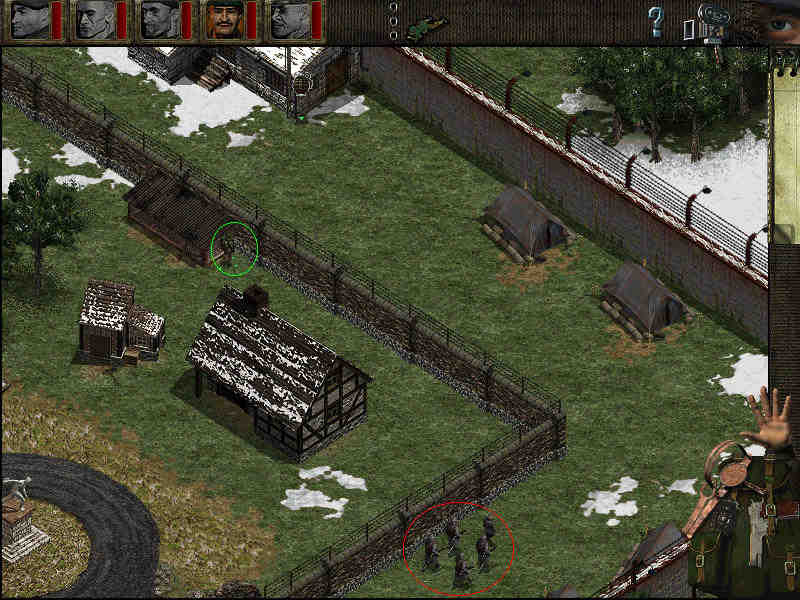
If you hide south of the northern carriage (see here),
you can attract the guard who stands west of the tank (red encircled) with a
shot and then shoot him down. The guard east of the tank (blue encircled) will
not come to take a look, but if you `time' his scan range, you should be able
to reach the tank (running) with your driver. Use this tank to kill the
remaining guards, the patrol and the gun nest (near the bridge) on this side of
the river. After you have done so, run with your other men to the bridge (watch
out for the train!!)
Phase 2 Cleansing of the inner courtyard
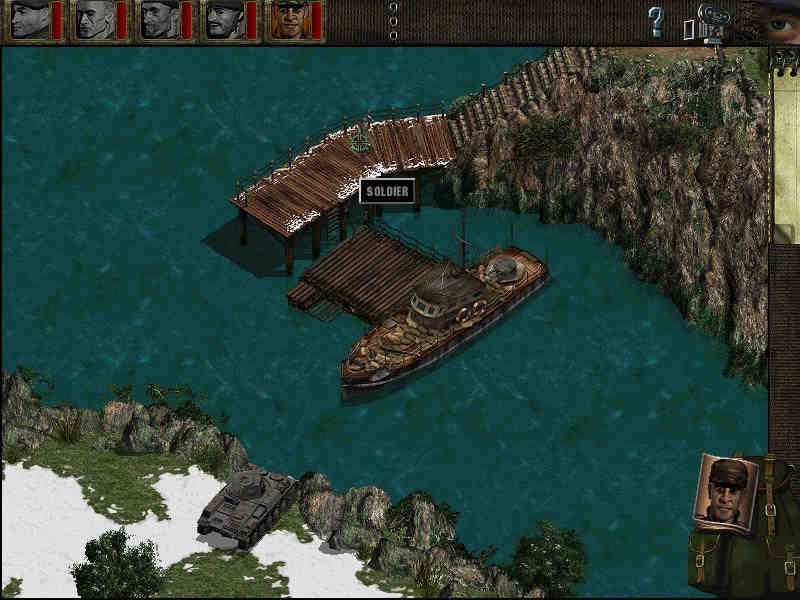
In the rock formation on the west side of the river, there are some spots
where you can park your tank. Especially the most northern one is very useful.
Park your tank there, `head first', so you can shoot with your tank as far as
possible into the inner courtyard (see here). Shoot the
guard who stands at the platform near the escape boat. Shoot the guard who
is at the top of the stairs (see here). Shooting him
at that point will make it easier to shoot the patrols and guards who will come
to take a look, since they will come closer to you to investigate.
Don't kill the machine gunner yet, since his body will be discovered by the
guard who stands in the centre of the inner courtyard; he will raise the alarm
and trigger an additional patrol. If you have done this right, there should be
a patrol walking between the two walls. For the time being, let them live.
Now, run towards the bridge (again, watch out for the train!)
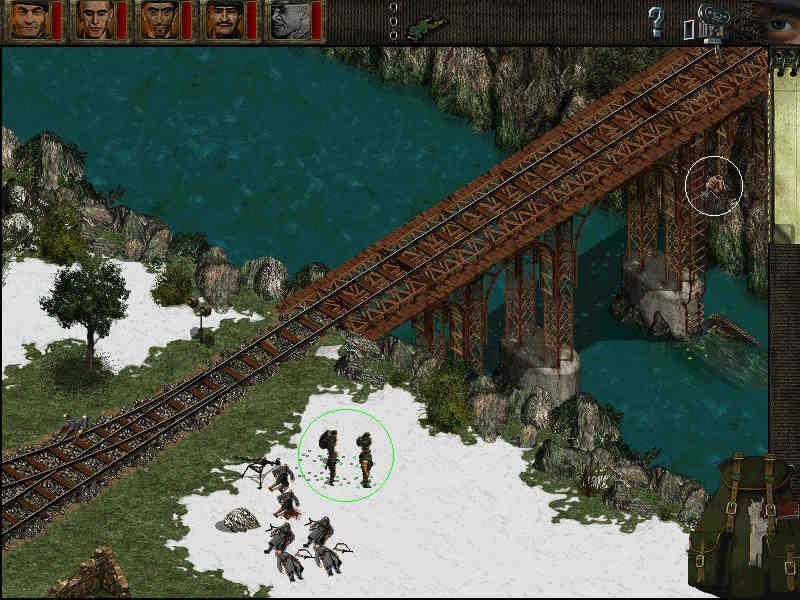
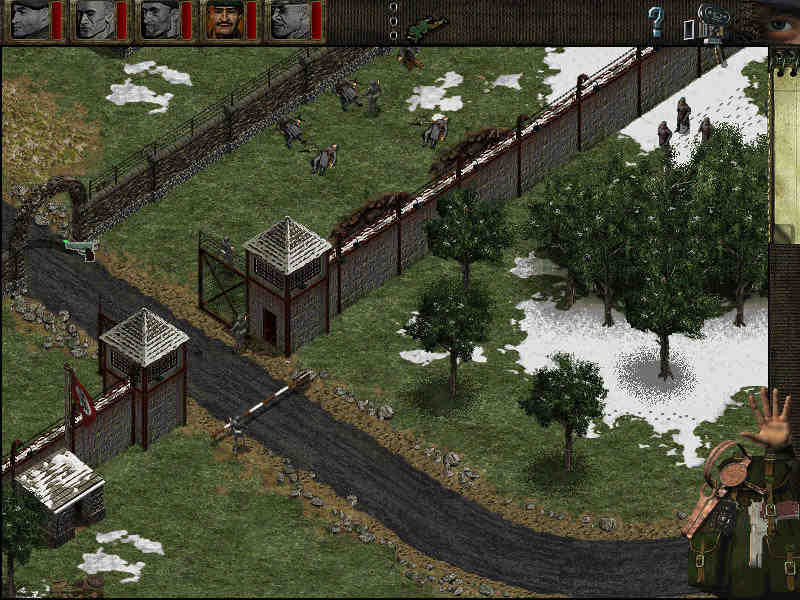
In the mean time, between shooting some patrols for instance, you should run
with the rest of your men accross the bridge and climb down the ladder
(near the pillar where you get a handle; see here). The
guard
at the other side of the bridge will run to his motorcycle and trigger an
additional patrol; since this patrol doesn't matter very much, you need not
care about him. If you don't want this patrol, you can simply wait until a
train crosses the bridge; this train will conceal your running to the ladder.
Inflate your boat, put your sapper, sniper and marine into it and row to
the platform near the escape boat. Unload your sapper and sniper and row back
to the bridge to get your green beret and driver.
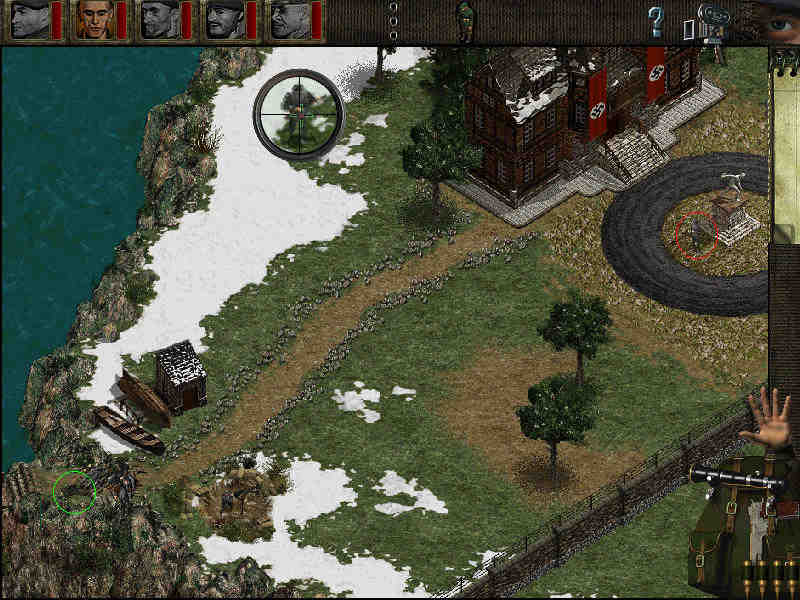
Meanwhile, crouch with your sniper to the top of the stairs and snipe the guard
who stands west of the headquarters; here. Sniping the red
encircled guard will cause the patrol that walks between the walls to discover
its body, so don't do it yet.
Now you can crouch with your sapper behind the headquarters and then run to the
east side of the inner courtyard; see here. If the
patrol that walks between the two walls is near, throw a grenade
[e, aim, click] at the barracks and throw another
at the patrol. If you are lucky, or if you timing is good enough, the patrol
that walks around in the east part of your map (where your bombs have been
dropped, for instance) hears the explosion and comes to take a look. Just
throw your last grenade at them. In the mean time, some guards will come to
take a look; you can kill them with your gun; just hide behind the wall near
the gate, fire a shot and they will come to you (by now, I hope you know what
to do with them....;-). See here. Note, that you should
not throw a grenade too near the gate; this will cause the gate to collapse,
preventing you from walking through it.
Use your sniper to snipe the guard in the centre of the inner courtyard and
shoot the machine gunner with your gun.
Phase 3 Finishing touch
There are two guards south of the main gate that will not come to take a look.
Use your sniper to get rid of them. This causes the two patrols (or one, if
you didn't trigger the motorcycle) to come and take a look (if they hadn't
already come because of the explosions.) Just let them be; they will run
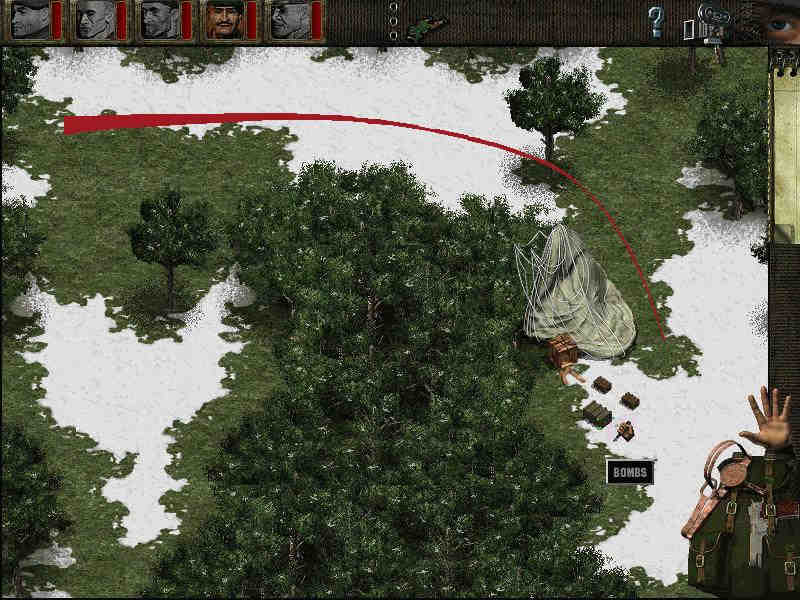
to the barracks (or what remains of it). When they turn theirs backs towards
the road, slip behind them with your sapper and go to the bombs, see
here. If you haven't
killed the patrol there, you should time it. Otherwise, take care that your
sapper doesn't run in a straight line, because there are still some guards in
the south-east part of the map who might see him. Because of these same guards,
crouch the last few yards and time their scan range when you take your bomb,
since this will cause your sapper to stand up. Then go back to the headquarters
(run where you can).
In the mean time, get your other men inside the escape boat. Finally,
put a bomb in front of the headquarters with your sapper and bring him to
the escape boat as well.